
If you have other boards, read on, these instructions support multiple other Raspberry Pi boards.
Hardware
In this tutorial, we assume you have the Raspberry Pi Debug Probe to access the board’s serial port. You could use the GPIO UARTs too, but they are neither enabled by default at the bootloader level nor as a kernel console. Enabling them for serial console access would slightly complicate these instructions.
These instructions can also be adapted for earlier Raspberry Pi boards, as the meta-raspberrypi layer supports all of them.
Install required packages
The following packages are necessary on Ubuntu 24.04 (see the Yocto Project manual):
$ sudo apt install build-essential chrpath cpio debianutils diffstat file gawk gcc git iputils-ping libacl1 liblz4-tool locales python3 python3-git python3-jinja2 python3-pexpect python3-pip python3-subunit socat texinfo unzip wget xz-utils zstd
Yocto Project / OpenEmbedded setup
Note that we’re using the master branch of the meta-raspberrypi layer, because it’s compatible with both the Styhead and Walnascar releases (currently in Poky’s master branch).
$ mkdir -p ~/oe/raspberrypi5
$ cd ~/oe/raspberrypi5
$ git clone -b styhead https://git.yoctoproject.org/poky
$ git clone git://git.yoctoproject.org/meta-raspberrypi
$ cd poky
$ source oe-init-build-env
$ bitbake-layers add-layer ../../meta-raspberrypi
Next, add the MACHINE setting to conf/local.conf:
MACHINE = "raspberrypi5"
You are now ready to generate an image:
$ bitbake core-image-minimal
Booting with the default kernel for Raspberry Pi 5
After building this image, you can flash it to a micro SD card:
sudo bmaptool copy tmp/deploy/images/raspberrypi5/core-image-minimal-raspberrypi5.rootfs.wic.bz2 /dev/mmcblk0
The micro SD card should now allow the board to boot to a command line. Before powering up the board, open a terminal emulator to access the serial console. For example:
$ sudo apt install tio
$ tio /dev/ttyACM0
Power up the board, see Linux boot. Log in as root (no password required) and run uname -r to check the Linux kernel version.
Use Root Commit’s meta-mainline layer
We need a recipe to compile the latest stable Linux kernel for our board. We can get a very simple one by getting Root Commit’s meta-mainline layer:
$ cd ~/oe/
$ git clone https://gitlab.com/rootcommit/meta-mainline.git
$ bitbake-layers add-layer meta-mainline
In a previous version of this article, we showed how to create this layer, but if you look at its source code, in particular at the linux-mainline recipe, you will see that its implementation is very simple. In addition, this layer defines a raspberrypi5-mainline machine with extra settings we used to put in the conf/local.conf file.
Note: our meta-mainline layer is mainly the product of a learning experiment, to show you how easy it is build your own kernel (preferably mainline) using just the kernel class. If you’re looking for something more generic and much better tested, check out the meta-linux-mainline layer, or just create your own recipes based on the example code we’re sharing.
Change the machine name
So, to use the new linux-mainline recipe, all you have to do is change your machine name in conf/local.conf:
MACHINE = "raspberrypi5-mainline"
Update the image and boot the board again
Update the image:
$ bitbake core-image-minimal
Since the machine name has changed, the paths in command to reflash the micro SD card will have to be updated:
sudo bmaptool copy \
tmp/deploy/images/raspberrypi5-mainline/core-image-minimal-raspberrypi5-mainline.rootfs.wic.bz2 \
/dev/mmcblk0
Then, boot the board again through the serial line. Here’s what you should get:
Change the Linux configuration file
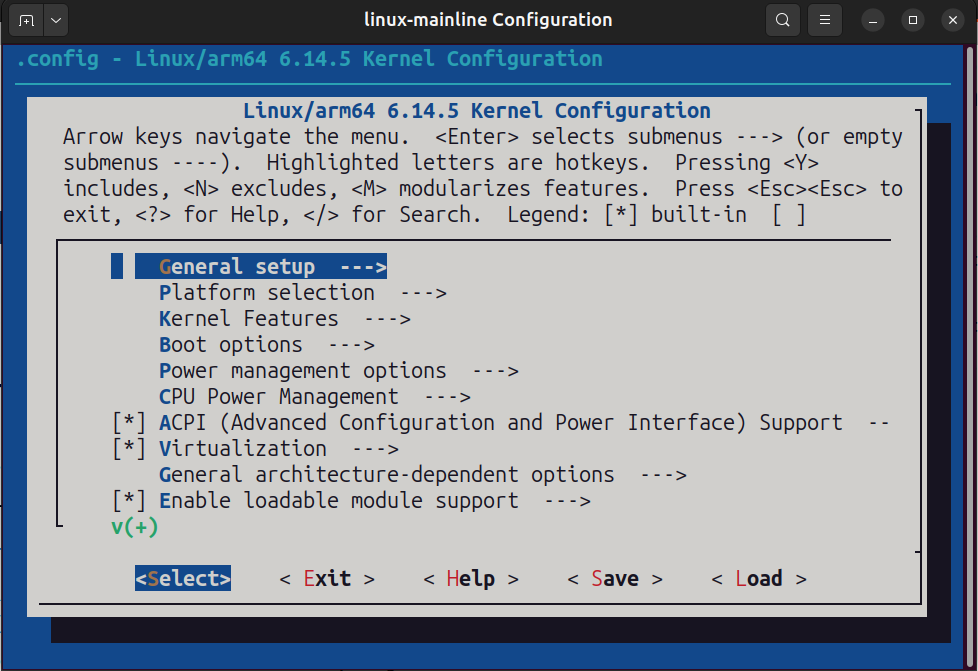
The kernel class that we’re using in the linux-mainline recipe makes it very easy to customize the kernel configuration.
$ bitbake -c menuconfig linux-mainline
Don’t hesitate to tweak the configuration according to your needs. Once you are done, you can save the changes and even generate a new defconfig file from it:
$ bitbake -c savedefconfig linux-mainline
This will create a new defconfig file and will tell you were it can be found.
You could then either:
- Use this new file to replace the existing one for
raspberrypi-mainlineinmeta-mainline, after creating a new branch for your changes. - Or, as it’s against the Yocto / OpenEmbedded code of conduct to modify a layer maintained by somebody else, you could create a custom layer that would just customize the
defconfigfile forraspberrypi-mainlinein thelinux-mainlinerecipe.
Anyway, if you generate the image again after running menuconfig, the kernel will be rebuilt with the new configuration and with a polite warning reminding you that you’re deviating from the settings in the recipe. However, that’s acceptable for making tests. When you are happy with the new configuration, then you can update the defconfig file in a layer.
Using other Raspberry Pi boards
You can actually use our meta-mainline layer to boot the mainline kernel on several other boards:
| Board | conf/local.conf setting | Status |
|---|---|---|
| Raspberry Pi 5 | MACHINE = "raspberrypi5-mainline" | Tested |
| Raspberry Pi 4 | MACHINE = "raspberrypi4-mainline" | Not tested, help wanted! |
| Raspberry Pi 3B+ | MACHINE = "raspberrypi3b-plus-mainline" | Tested |
| Raspberry Pi 3B | MACHINE = "raspberrypi3b-mainline" | Tested |
| Raspberry Pi 2B | MACHINE = "raspberrypi3b-plus-mainline" | Tested |
| Raspberry Pi 0 2W | MACHINE = "raspberrypi0-2w-mainline" | Tested |
Examples using Linux mainline on other boards
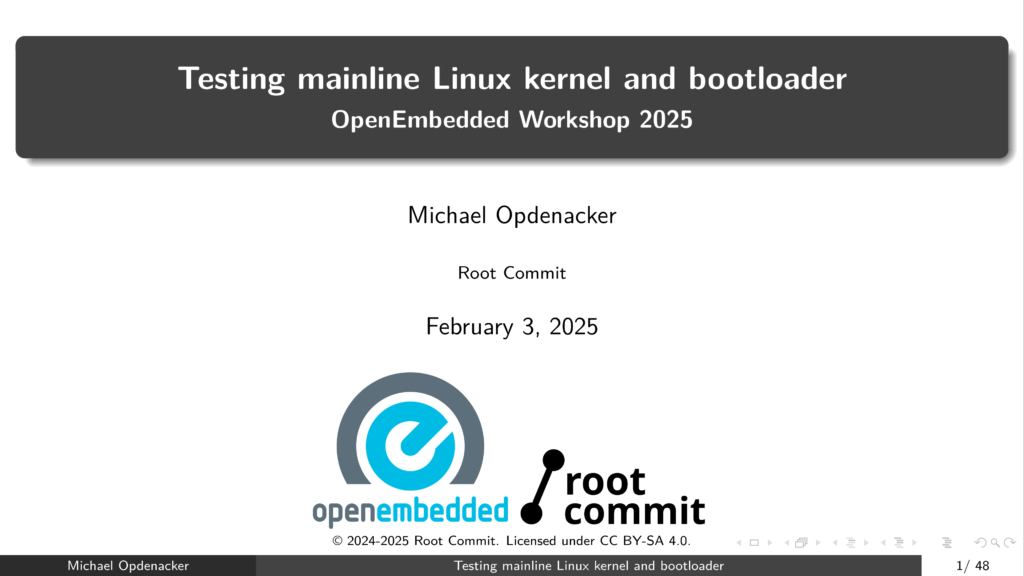
This tutorial was derived from a presentation I made at the OpenEmbedded Workshop 2025 in Brussels. It also shows how to boot the latest mainline kernel (and U-Boot, when applicable), on a QEMU virtual machine, on Beaglebone Black, on BeaglePlay and on Raspberry Pi 5. Click on the image below to view the entire presentation:
Further resources
Isn’t this impressive how easy it is to build and customize an embedded Linux image for a given machine using Yocto and OpenEmbedded? If you wish to learn more, you can check out: